
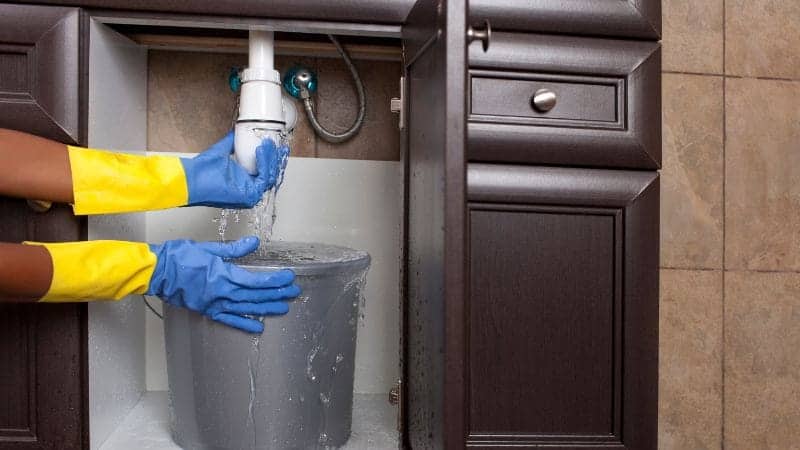
Plastic containers are widely used for storing food, liquids, and various household items due to their convenience and durability. However, over time, they may develop leaks or cracks that can be frustrating to deal with, leading to spills and potential messes. Luckily, sealing a leak in a plastic container can be a simple and cost-effective solution. This article will provide you with the knowledge to repair cracks in plastic and extend the life of your favorite containers.
What is Plastic Container Leak?
How Do Plastic Containers Get a Leakage?
Temperature: Sudden temperature changes can cause the plastic to crack or warp, potentially compromising the seal.
Pressure: If the container was stored in an area subjected to excessive pressure, this could damage the container or its seals. Furthermore, stacking heavy items on the container will also cause damage.
Sunlight: Prolonged exposure to sunlight can weaken the plastic, making it more susceptible to leaks. Store your container in a shaded area or use a cover to protect it from direct sunlight.
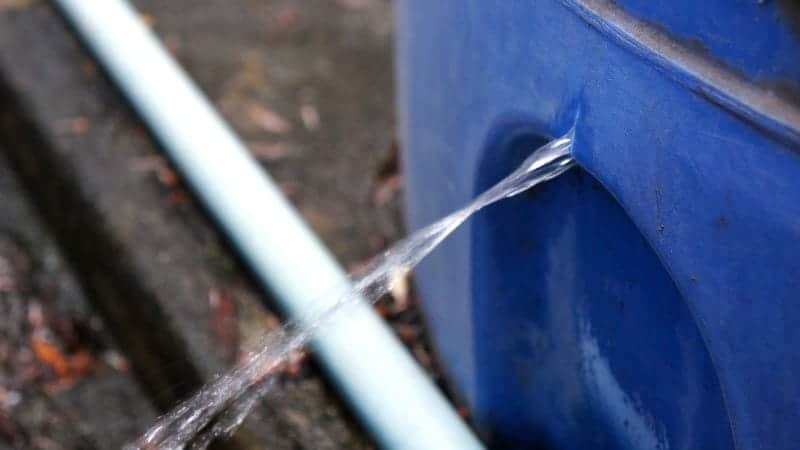
Identifying a Leak
To identify a leak, you should first inspect the container. Look for any visible cracks or holes in the plastic. It’s helpful to fill the container with water or air, then apply gentle pressure to observe if any liquid or bubbles escape.
Recognizing the Type of Plastic
Understanding the type of plastic material your container is made of is crucial, as it will help you choose the appropriate method for repairing the leak. There are several types of plastic materials commonly used for containers, including:
- Polyethylene (PE)
- Polypropylene (PP)
- Polystyrene (PS)
- Polyvinyl chloride (PVC)
Most plastic containers have a recycling symbol on the bottom, which can help you identify the material. For example, PE usually has a “1” or “2” inside the recycling symbol, while PP has a “5.”
Here are the common plastic recycling symbols and their meanings:
| Symbol | Name | Uses | Recycling |
|---|---|---|---|
| 1 | PETE or PET | Soft drink bottles, water bottles, ketchup bottles, salad dressing containers, peanut butter jars | Recyclable into new containers, carpet fibers, winter jackets, etc. |
| 2 | HDPE | Milk jugs, juice bottles, shampoo bottles, cleaning product bottles, yogurt cups, margarine tubs, cereal box liners | Recyclable into recycling bins, flower pots, pipes, buckets, crates, etc. |
| 3 | PVC or V | Credit cards, plumbing pipes, wire jacketing, medical equipment, windows, shower curtains | Not commonly recycled but can be made into floor tiles, shipping envelopes, etc. |
| 4 | LDPE | Dry cleaning bags, produce bags, trash can liners, food storage containers | Recyclable into compost bins, paneling, trash can liners, floor tiles |
| 5 | PP | Yogurt containers, ketchup bottles, medicine bottles, straws, Tupperware, diapers | Recyclable into signal lights, ice scrapers, rakes, battery cables, brooms, auto battery cases |
| 6 | PS | Disposable cups, plates, cutlery, meat trays, egg cartons, aspirin bottles | Recyclable into rulers, license plate frames, cafeteria trays, foam packing, egg cartons |
| 7 | Other | Sunglasses, iPod cases, computer cases, nylon, 3D printing filament, signs and displays | Not commonly recycled |
Preparation Before Seal the Leakage
Proper preparation is essential for ensuring a strong bond that will withstand repeated use and prevent further leaks down the road. In this chapter, we will discuss the key preparation steps that should be followed no matter what sealing method you choose.
Cleaning the Surface
Start by cleaning the area around the leak thoroughly. Ensure that it is free of any dirt, oil, or residue that may prevent the sealant from adhering properly. You can use a gentle dishwashing soap and warm water to get rid of most grime. After that, rinse the container and let it dry.
For more stubborn residue, you can use a clean cloth and a small amount of acetone to remove it. Remember to wear gloves for protection and work in a well-ventilated area when using acetone.
Sanding for a Better Bond
Next, you’ll want to create a rough surface for the sealant to bond effectively. To do this, grab a piece of sandpaper (around 180-220 grit) and gently sand the area around the leak. Be careful not to sand too deep, as this could cause further damage to your plastic container.
Once you have sanded the surface, clean it again with a cloth to remove any sanding dust. Now your plastic container is ready for the sealing process. By following these steps, you can ensure a durable, long-lasting bond when sealing the leak.
Techniques for Repair a Plastic Container
In this chapter, we will explore various ways to fix leaks in plastic containers and extend their usable lifespan. We will cover selecting the appropriate repair materials such as tapes, glues and sealants, preparation steps for ensuring a strong bond, and tips for successful application and curing.
Adhesive-Based Solution
To fix a leak in a plastic container, adhesive-based solutions are highly effective. You have various options, such as plastic glue, epoxy, or silicone sealant, to create a strong bond.
To apply adhesive, make sure to follow the manufacturer’s instructions. If you’re using an activator, apply it to both surfaces, allow it to dry, and then proceed with the adhesive.
Here are some available commercial products
1. Loctite Plastics Bonding System:
The Loctite Plastics Bonding System is a two-part adhesive specifically designed to bond plastic materials. It consists of a surface activator and a super glue. The surface activator prepares the plastic surface, and the super glue creates a strong bond to fix the leak.
While this product is strong and effective, it’s important to note that it does emit a slight odor and may be toxic if ingested. Always use caution and follow the instructions on the packaging.
2.Plastic Bonder
Plastic Bonder is another reliable option for sealing leaks in plastic containers. This two-part epoxy is specifically formulated to bond various plastic types, filling gaps and creating a strong, lasting seal.
Please note that Plastic Bonder may not be appropriate for food storage containers, as it could potentially be toxic if it comes into contact with food.
3. Silicone Sealant
Silicone Sealant is a versatile option for fixing leaks in plastic containers, as it effectively seals a variety of surfaces and materials. Unlike the previous two options, silicone sealants are generally more flexible, making them suitable for applications where the container may be subjected to movement or varying temperatures.
Silicone sealants are typically non-toxic and come in food-grade varieties, making them suitable for use in food storage containers. However, always double-check the specific product you’re using for any safety concerns or limitations.
4. Epoxy
Epoxy resins are formed by reacting epichlorohydrin with bisphenol A, creating a prepolymer that can be further crosslinked into a hard, infusible plastic through the addition of curatives or hardeners. Common curatives include amines, acids, phenols, and anhydrides. The crosslinking reaction is referred to as curing and allows epoxies to form three-dimensional network structures with high strength and thermal stability.
5. Sealant
Sealants are materials used to block the passage of air, water, dust, noise, and fire through openings and joints in buildings, vehicles, and other systems or assemblies.
They adhere to and span across opening surfaces, forming durable, flexible, and airtight seals while allowing a limited amount of movement. Sealants are distinguished from adhesives in that sealants typically have lower strength and higher flexibility compared to adhesives.
Major applications of sealants include weatherproofing; sealing pipes, ducts, and conduits; sealing windows, doors, and roofs; insulating control joints; and acoustical sealing. Proper sealant selection, surface preparation, and application are important for achieving long-lasting, watertight seals.
Fusing by Heat Method
Another useful technique to repair a crack in a plastic container is the fusing by heat method. Heat can help melt and join the plastic together. Before proceeding, work in a well-ventilated area and wear heat-resistant gloves to avoid burns. You can use a soldering iron or a heat gun at a safe distance for this method. Gently melt the cracked area, allowing the plastic to fuse together. Be cautious not to apply too much heat, as it may cause burning or further damage.
Using a Patch
Lastly, you can opt for the patching method. This involves placing a patch made from another piece of similar plastic material over the crack. To begin:
- Cut a plastic patch slightly larger than the crack.
- Clean the container and patch thoroughly.
- Apply an adhesive (glue or epoxy) to the patch and press it firmly over the crack.
- Use a UV light source to help cure the adhesive faster (if applicable).
Remember to give ample time for the adhesive to bond and set before using the container.
In conclusion, sealing leaks in plastic containers is an important way to prevent waste and extend the usable life of items. By identifying the source and type of leak, you can select the appropriate sealing method whether that be adhesive tape, silicone sealant, or hot glue. It’s best to clean and dry the leak area thoroughly before application to ensure a strong bond. With a bit of care and the right materials, most small plastic container leaks can be easily repaired at home. Keeping items sealed will help preserve their contents and functionality for longer. With some practice, sealing leaks can become a simple maintenance task to keep plastic containers in good condition.